


Magnolia residents
Green Cove Springs, Florida
This Site Online Since 2002
Our Community
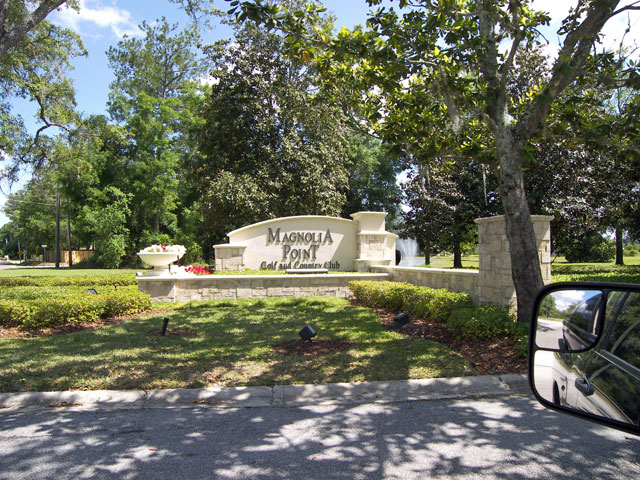
Located off State Road 17, five miles south of Country Road 220, Magnolia Point invites you to visit the best kept secret in recreational, country club living. Positioned just north of Green Cove Springs,Magnolia Point is in the country, but oh so close to the essentials of city life. What you won’t miss is the wildlife; what you will miss is all the noise and traffic.
Welcome Home
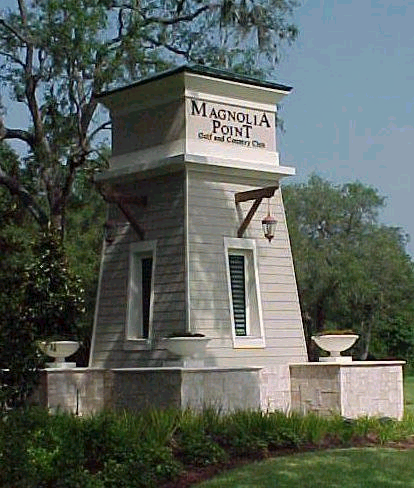
Our main entrance, off Harbor Road in Green Cove Springs.
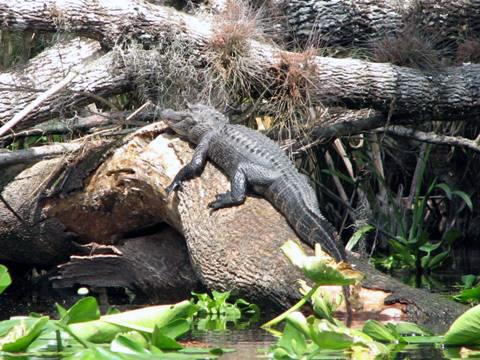
Other Residents
They say in Florida that you’re never more than one mile from something that can eat you. This is ‘Bubba’, who we came across on Peter’s Creek, off Black Creek. Okay, that’s about two miles from our back gate, but who’s counting??
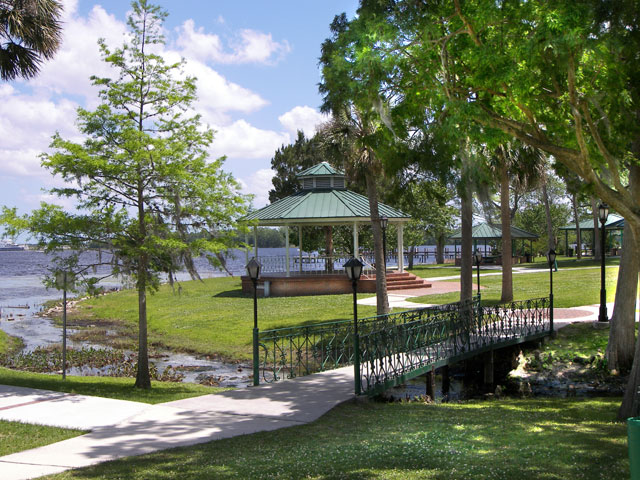
Our Town
Spring Park features a brand new pool fed by the Spring and a new pavilion.
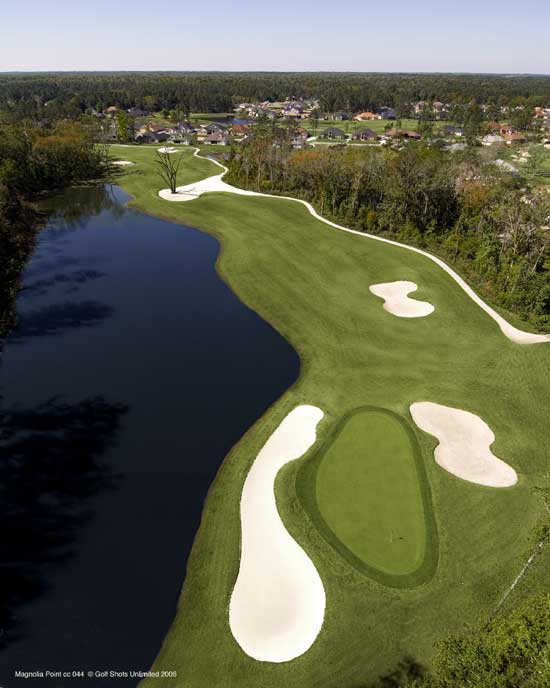
Magnolia Point’s Heart & Soul
The Club
Just for Fun!
The Convenants
Looking Ahead
Address
Magnolia Point
Green Cove Springs, Florida 32043